
So since school has started and everyone is busy with classes and work already, we thought we would share one of our favorites, the EASIEST side dish ever. Even if you think you don’t like broccoli, you’re wrong. You just … Continue reading

So since school has started and everyone is busy with classes and work already, we thought we would share one of our favorites, the EASIEST side dish ever. Even if you think you don’t like broccoli, you’re wrong. You just … Continue reading
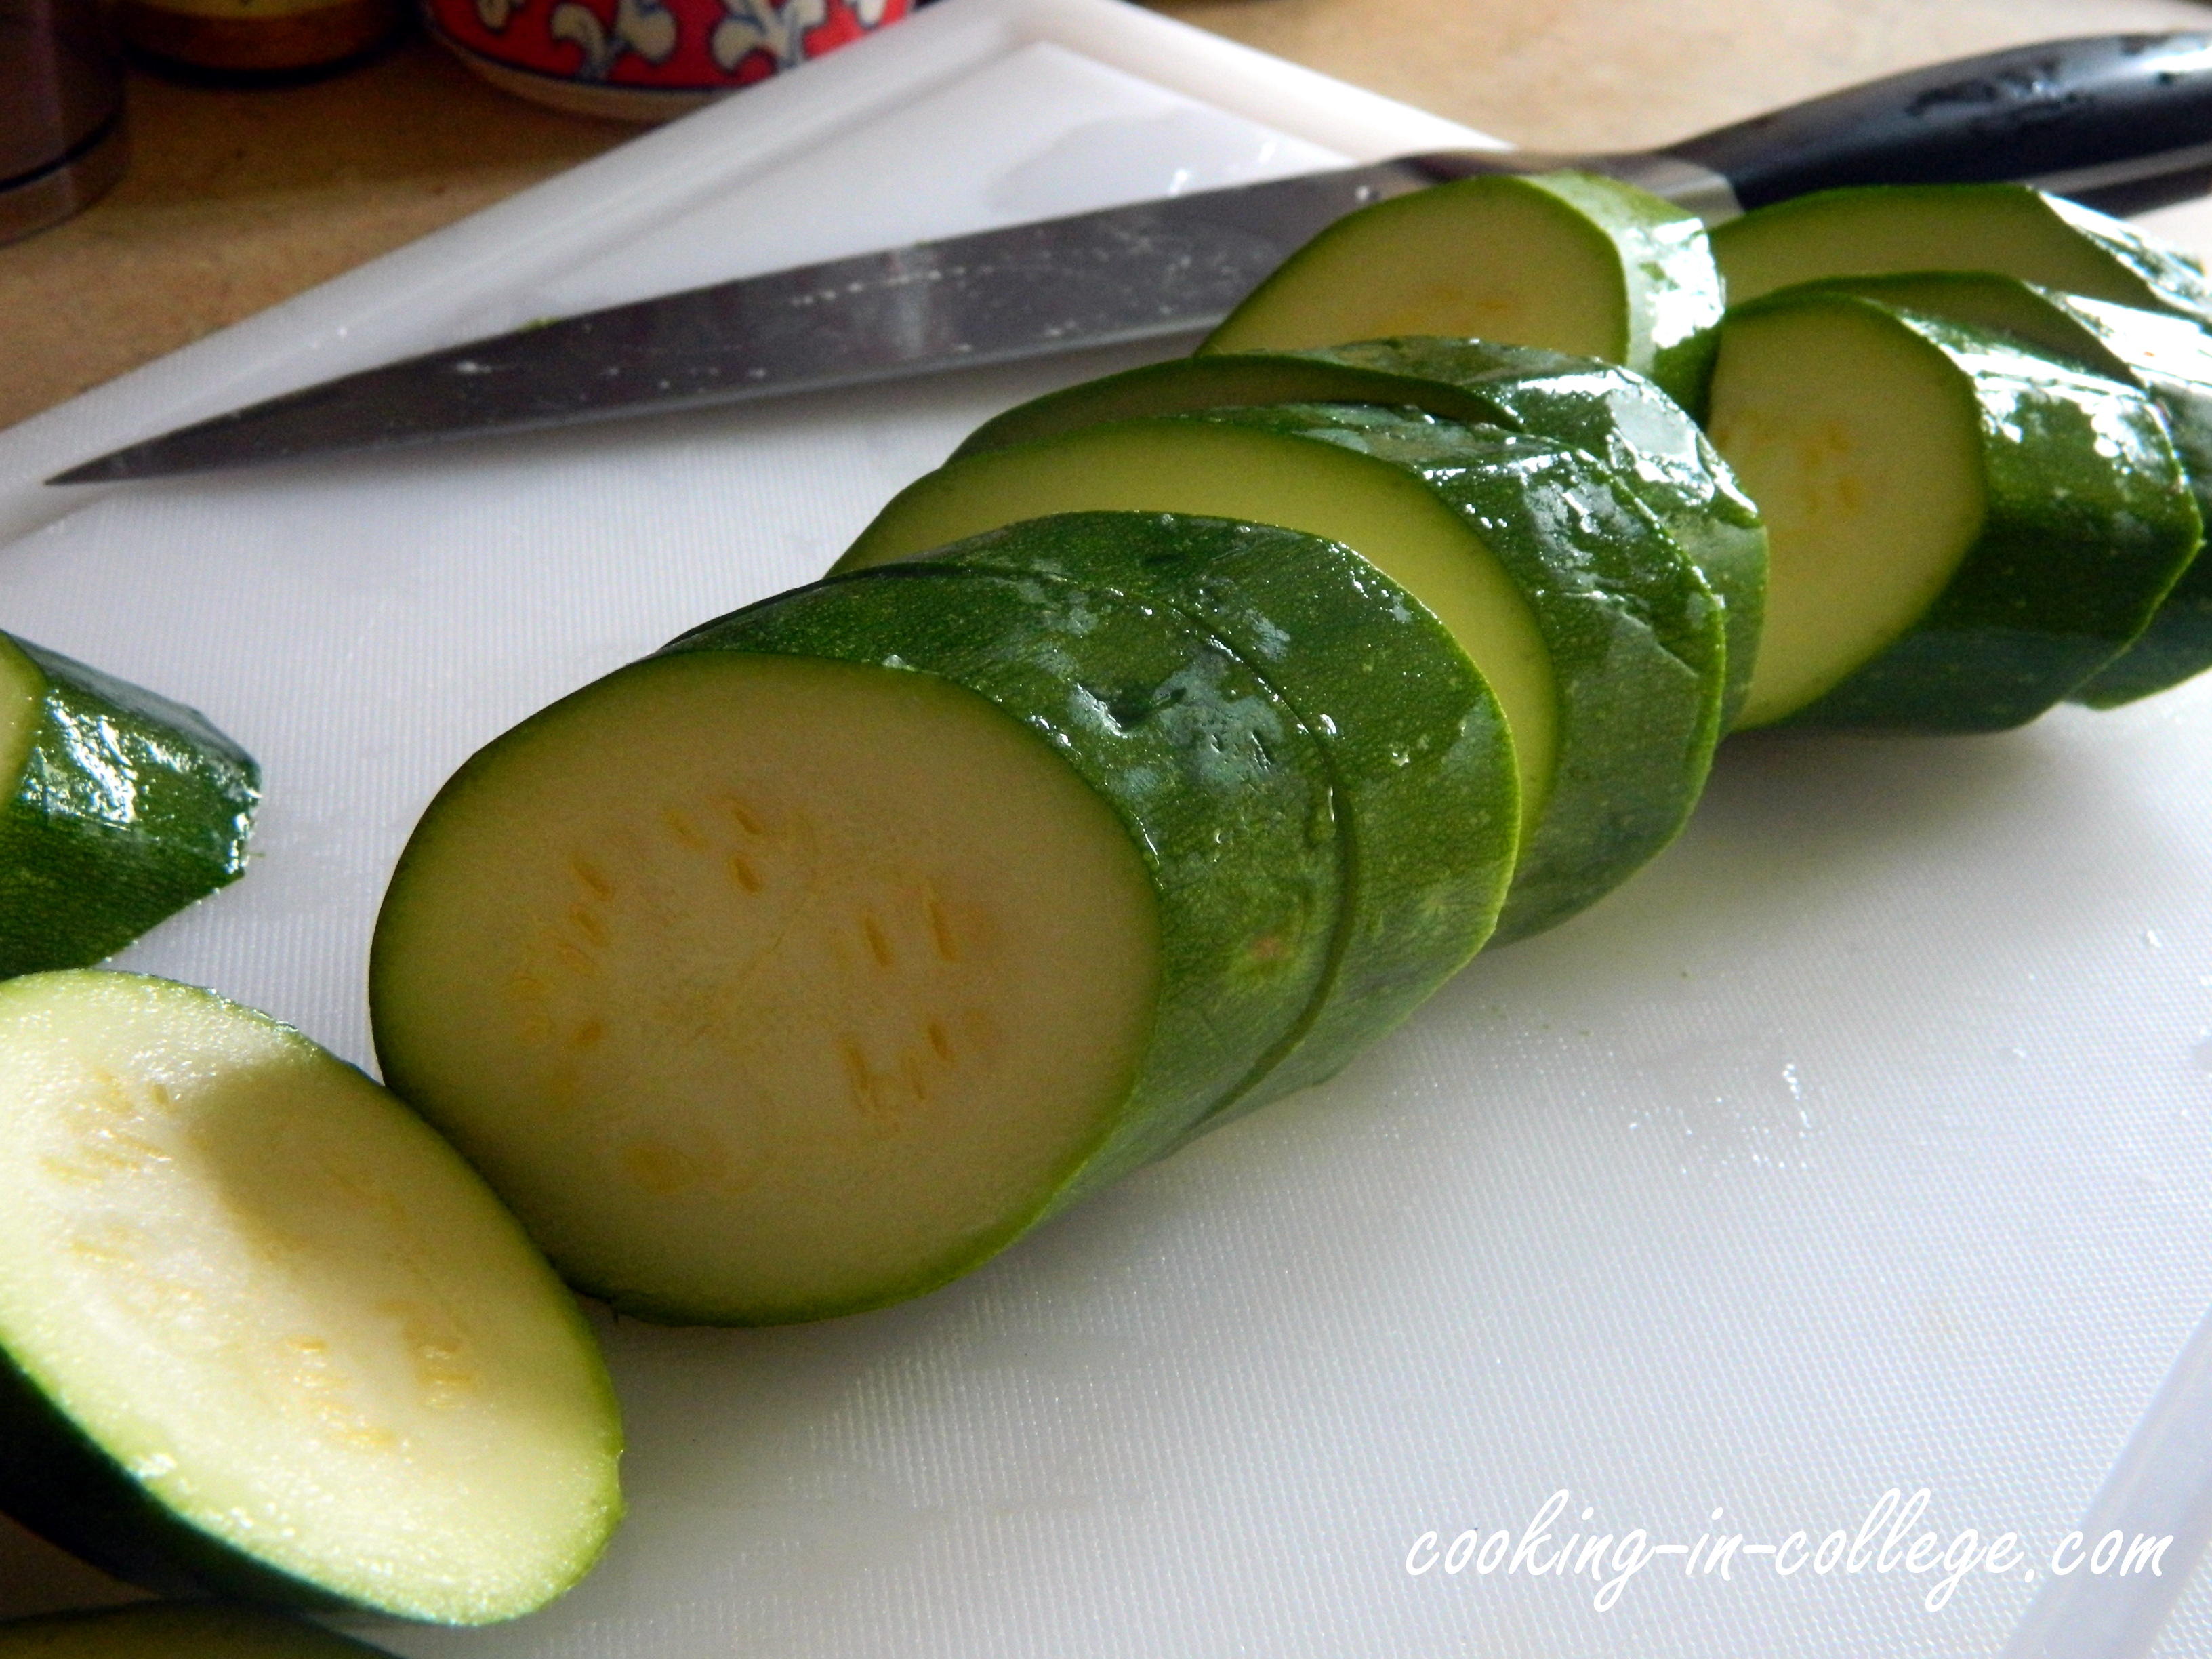
College football is right around the corner! So we are preparing by trying out some old game-day favorites with a new twist. Well, a healthier twist. We have a good one to share with you today – Mini Pizzas (on zucchini)! This is a perfect game-day food because it was quick and easy to make and hardly made any mess to clean up.
You’ll see below that we used a grill pan to give our zucchini slices some grill marks (for looks and taste). If you don’t have a grill pan or grill, feel free to pre-cook your zucchini slices in the oven for about 5 to 7 minutes until they just start to get nice and tender.
1. Preheat your oven to 350F.
2. Slice your zucchini on the diagonal into half inch thick pieces. Season each side lightly with salt and pepper.
3. On a hot grill pan, grill each side of the sliced for 3 to 4 minutes or until grill marks appear.
4. Transfer the slices onto a baking sheet (sprayed with non-stick).
5. Evenly spread about a spoonful of pizza sauce on each slice.
6. Top with a quarter of the mozzarella cheese slice and 2 slices of pepperoni (some of our smaller pieces could only hold one).

7. Top with shredded Parmesan cheese (optional) and bake for 5 minutes.
8. Serve and enjoy!

-D&E
Well the election is finally over, at least we do not have to listen to any more political ads! But Tuesday had even better news for us – Declan was offered a full time position at the company he has been interning with for the past two years! He will be starting in January once we return from our honeymoon. We aren’t sure yet if we are allowed to disclose where he will be working but we will give you three hints:
Good luck solving that! We celebrated Tuesday evening by going out to dinner at one of our favorite restaurants, the Union Grill here in Oakland. Overall, we are just so grateful to know that we will have a steady income soon.

So we made this recipe awhile back when we had dinner at a friend’s house. They were really simple to make and turned out very well! They’re a great appetizer and easy to travel with because they can be served warm or cold! But we definitely have to credit where we got the recipe – thank you Kristin from Iowa Girl Eats!
1. Preheat oven to 350°F.
2. To separate your egg whites, carefully crack your egg in two pieces. Over a bowl, gently pour the yolk between the two pieces of shell, letting the white fall into the bowl and keeping the yolk intact. (Use this website for recipes to use up the extra two yolks!)


3. Shred your zucchini using a grater.

4. Combine all your ingredients into a large bowl and mix to combine.

5. Spoon the mixture into a well-greased mini muffin pan so each cup is full.

6. Bake for 15-20 minutes or until the edges are golden brown. Let cool for about 5 minutes before removing from the pan.
7. Serve and enjoy! These little cups refrigerate and freeze well, but good luck not eating them all!

-D&E
Okay this is our last post until after the wedding. We just need to make sure we are all set and ready for the biggest day of our life, so we are going to take some time off for a few weeks. We will miss you all!
Don’t worry, when we come back we will have some awesome wedding photos! We are so excited – it’s still so unreal that our wedding is right around the corner! It still feels like we just got engaged!
This post is so short that we don’t have a photo of the final product (guess we ate all the croutons before we could take a pic!). Croutons are so easy to make and are a great way to “dispose” of any old bread that you should never go back to buying croutons in a bag!
Fair well for now! See you all in October!
1. Pre-heat oven to 400°F.
2. Cut up the stale bread into bite size cubes.

3. In a large mixing bowl, combine the bread cubes and olive oil so that the bread is lightly coated (not saturated).
4. Lightly sprinkle the cubes with some garlic powder and parsley to taste.

5. Line cubes on a baking sheet and bake for about 10 minutes or until lightly brown and crispy.

6. Serve over salad or soup and enjoy!
-D&E
With our busy schedules of the past two weeks we haven’t been able to cook together for awhile now. So this week we needed to start off easy in order to get back into the game. We decided that something light and healthy was probably the way to go. We settled on trying to make bruschetta.
Bruschetta is extremely easy to make and you will certainly feel fancy eating it. We ate this with a nice side salad for our dinner but bruschetta is typically served as an appetizer. However, you can serve it any way you like!
We’re so glad to be back in the kitchen!
1. Mix everything together in a bowl (except for the bread) cover and set in the fridge for 10 to 15 minutes.

2. Lay your bread slices on a baking sheet and set under the broiler for 3 minutes or until the bread becomes lightly toasted.

3. Spoon out a bit of the tomato mixture from step 1 onto the toasted bread.
4. Serve and enjoy!

-D&E
100 days people. 100 days left until yours truly are bound together for life in matrimony. Time is just flying by! We (aka Erica) still have so much to do before the big day. We (aka Erica) will get it done, don’t fret!
Today’s recipe of Avocado Chicken Salad comes from another blog we love, Becoming Betty. She doesn’t use any measurements and nor did we, however, we did add in some extra ingredients of our liking. Pretty much this recipe is almost like mixing in shredded chicken into our guacamole.
We made this for Declan’s cousin’s graduation party but didn’t make enough because it was gobbled up in 5 minutes! Anyway, this recipe is perfect to enjoy on a hot summer day.
1. Scoop out all of the deliciousness found in an avocado into a large mixing bowl.
2. Add in the mayo and mash with a fork or potato smasher until creamy texture is achieved.
3. Add in the chopped cherry tomatoes, green onions, cilantro and flavor with the rest of the above ingredients except the shredded chicken to your desired taste.
4. Once tastiness has been achieved, mix in the shredded chicken, cover in plastic wrap and chill in the fridge for an hour.
5. Serve with some chips and enjoy!

-D&E
Okay so if you’ve been with us for awhile, you already know that we have been trying to make our own Asian food rather than ordering out. So far we have conquered Honey Sesame Chicken and General Tso’s Chicken, but there is one thing that Erica always orders as a side when we get Chinese – Egg Drop Soup. Growing up, she and her family would always order a huge tub!
So we set out to learn to make our own and we think we have conquered it too. This recipe was way easier than we expected and calls for a lot of ingredients you might already have. Here is a link to the original recipe we found, but as always we adapted it a little to accommodate our college budget. Feel free to check it out for other variations.
What’s your favorite Chinese food?
1. Heat the stock over medium heat in a sauce pan. Add in the large chunks of ginger and let simmer for 10-15 minutes. Remove the ginger chunks with a slotted spoon and add in the salt or soy sauce for flavor. After, add in the mushrooms and green onion and simmer for another 5 minutes or so or until cooked through.


2. Remove 1/4 of a cup of the broth and set aside in a small bowl. Add in the tablespoon of cornstarch and whisk together. Add this back into the broth and simmer for another minute or two.


3. In a separate bowl, whisk the eggs and mix in the teaspoon of cornstarch.
4. Bring the broth down to a bare simmer, slowly whisk in the egg using a fork held to the edge of the bowl to help drizzle (see photo below).

5. Turn off the heat and let sit for 1 minute to let eggs finish cooking.
6. Serve and enjoy!

-D&E
Learning to be all God created me to be and walking daily in His grace.
simple, healthy recipes for young adults
ACE YOUR BACHELOR OF EATING WELL - EVEN ON YOUR BUSIEST DAY!
by Declan and Erica, America's Cutest Cooking College Couple
A twentysomething's mission to make better food with little time, money, and experience

You must be logged in to post a comment.