
Okay, so we really like cinnamony-sugary-sweet things. And by we, we mean Erica. So when we (actually we, not Erica-we) stumbled across an easy recipe to make homemade cinnamon sugar donuts (or doughnuts if you prefer), we knew we had to try them out! And when better than for our first Easter brunch together?
These came together so quickly and it’s actually pretty likely that you already have everything on hand that you need. And if not, you can buy a can of biscuits seriously anywhere (I’m positive the Rite Aid on our campus would have them). They would be great if you’re having friends over or if your parents are visiting for the weekend and you want to cook up something for the morning! If you want icing instead of the sugar, here is a yummy, but simple one!
Oh, and if anyone is in Pittsburgh this Saturday, stop by Pitt Ballet Club’s variety production featuring Alice in Wonderland at 1pm and 5pm in Bellefield Hall! (Sorry, had to pitch it! :))
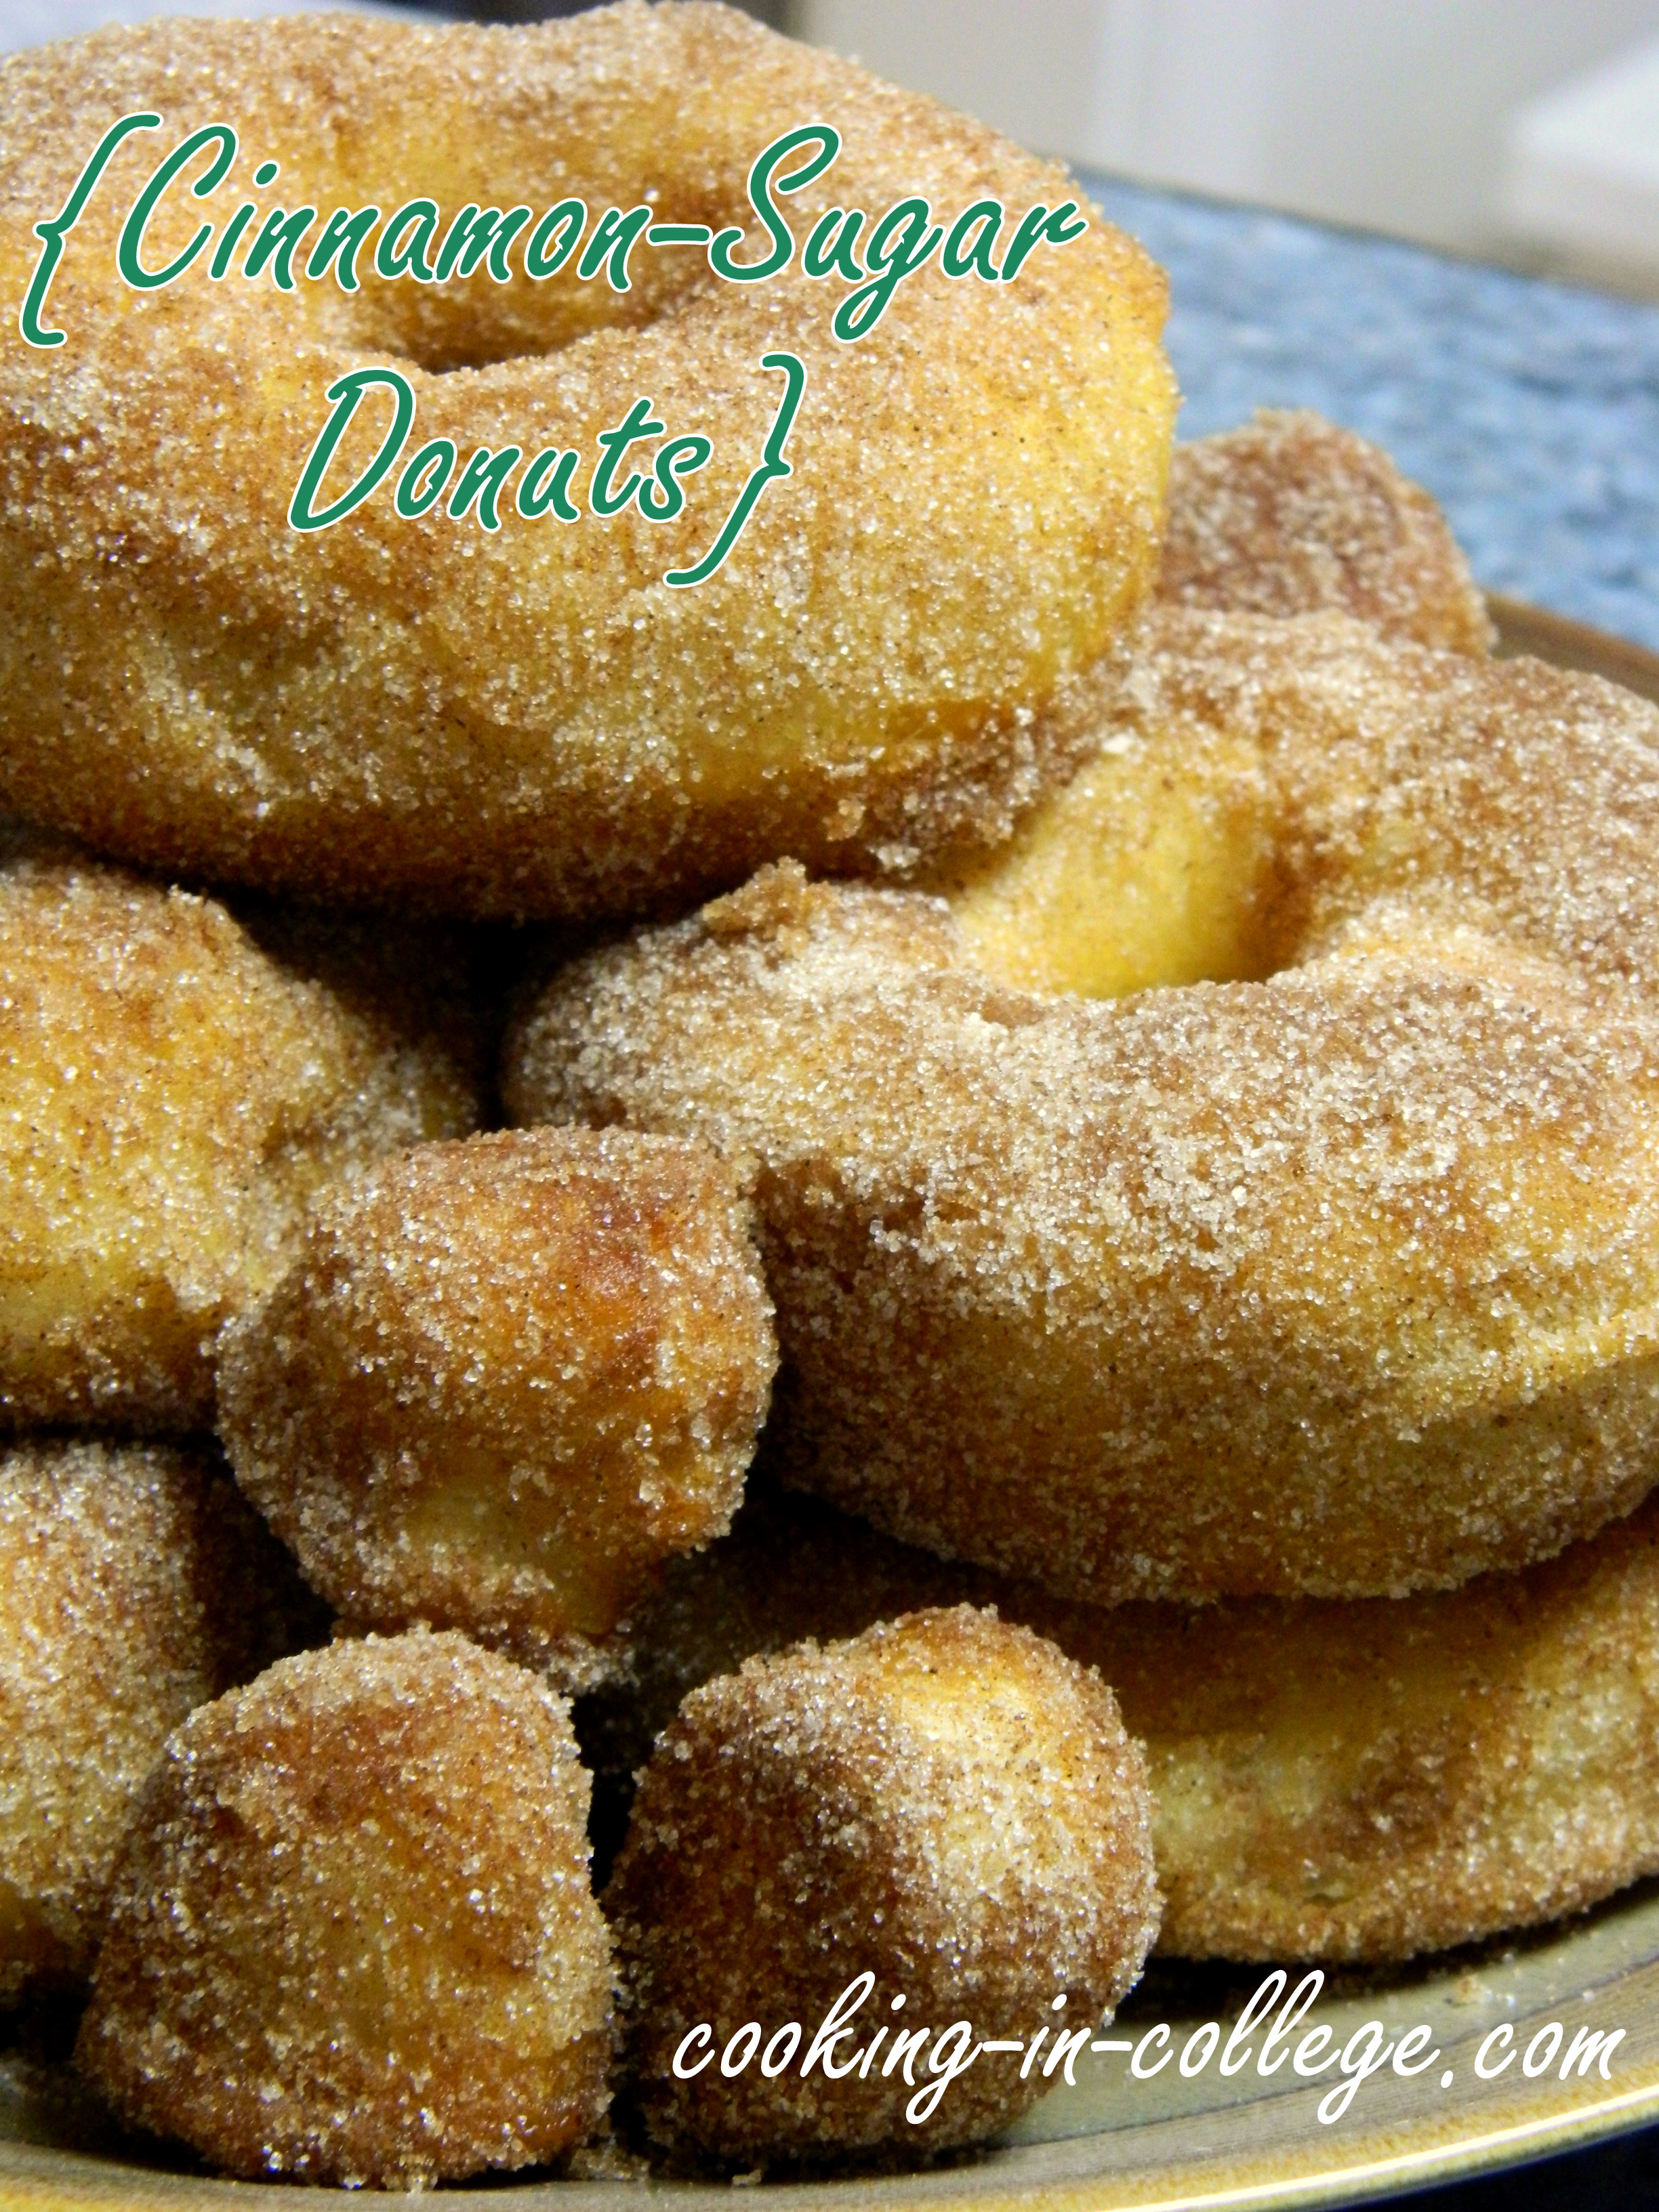
Cinnamon Sugar Donuts
You’ll never buy them again!
- Servings – However many biscuits your can makes
- Prep time – 5 minutes
- Cook time – 5 minutes
Ingredients
- 1 can biscuits
- 1 cup sugar
- 1.5 tablespoons cinnamon
- 3/4 stick butter (6 tablespoons), melted
- Vegetable oil for frying
Protocol
1. Pour enough oil into your pan to make it just less than 1/2 inch deep. Turn on the heat to medium-high heat to let the oil heat up.
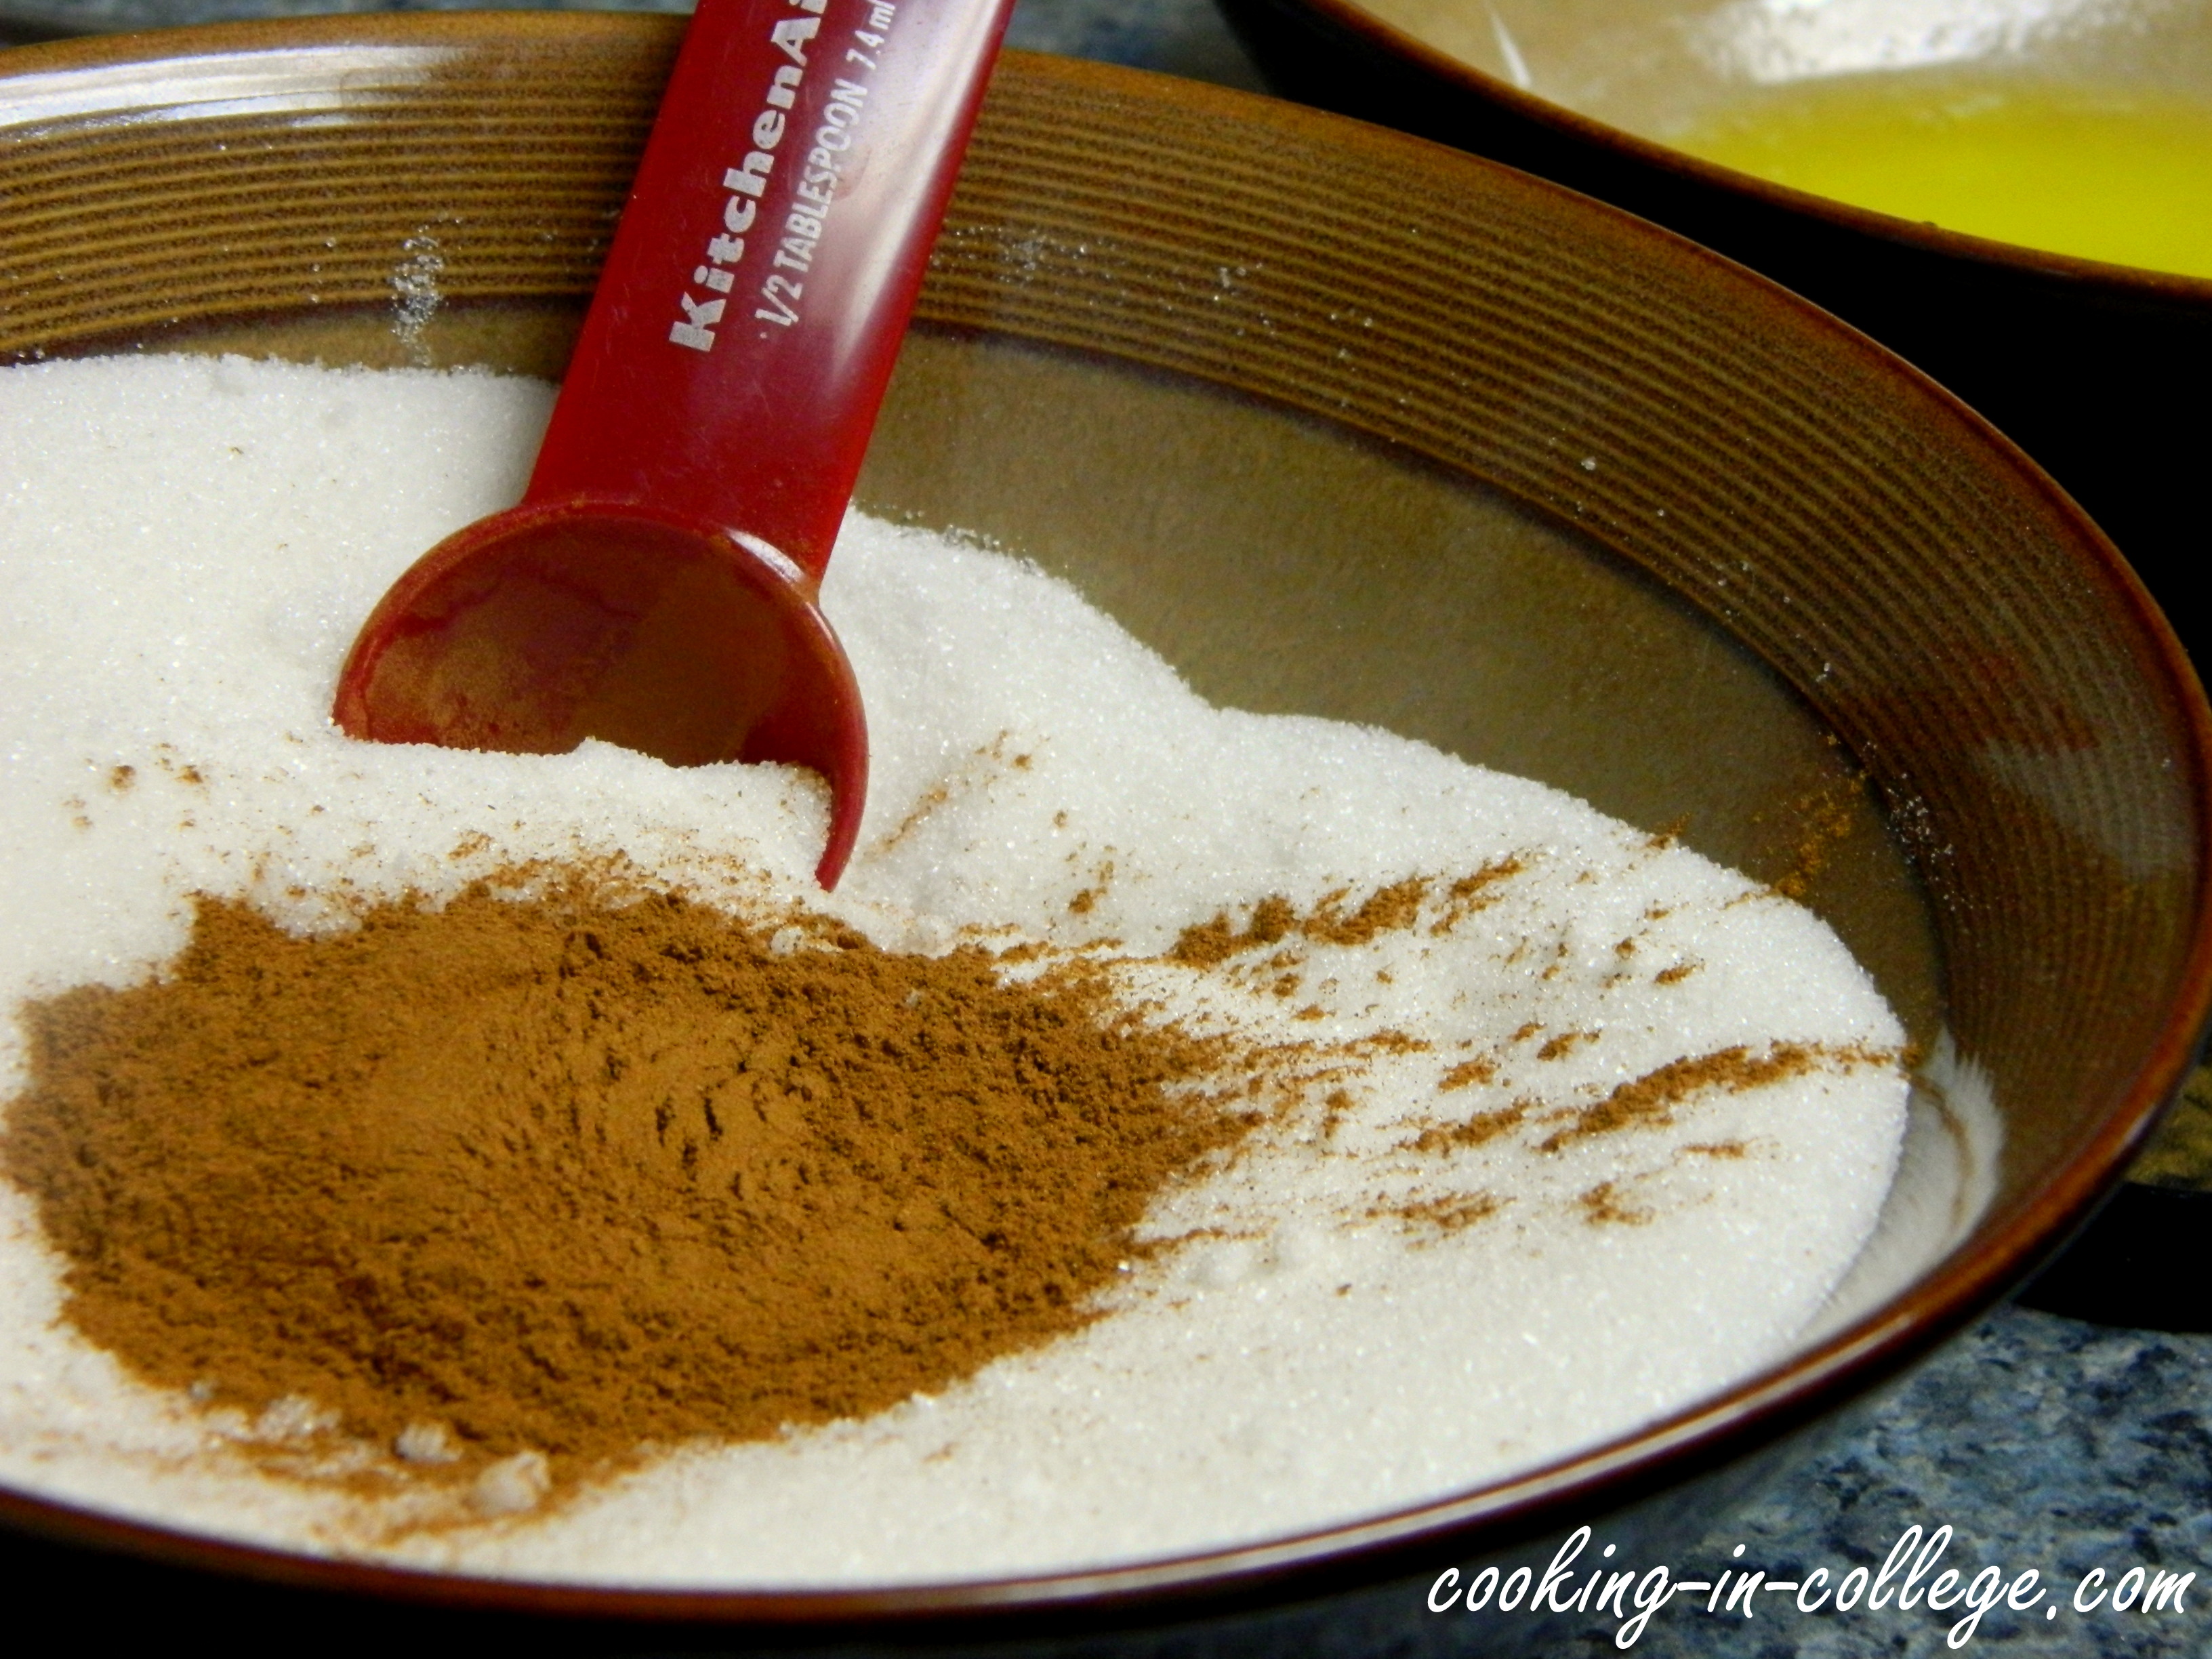
2. Take your biscuits out of the can and separate them. Does opening these cans scare anyone else, too?? Put your melted butter in one bowl and mix your cinnamon and sugar in another.
3. Using a small round cookie cutter or plastic bottle cap (don’t judge us for using a wine bottle cap), cut out the center of each biscuit. Keep the holes though – of course you’re going to fry those up, too!


4. To test if the oil is hot enough, add a single hole to the pan and it should sizzle and bubble around the edges. The hole should turn nice and golden-brown within a minute or so if the oil is hot enough.
5. Carefully add the donuts to the hot oil (ours fit in one pan). They fry up fast so the first one should be close to flipping by the time you add the last donut. You want to flip them once they turn pretty and golden-brown.

6. Once all the donuts are flipped, the first should be about done. Remove them all to a plate as they finish browning. Fry up the holes now!
7. Once everything is fried, dip one at a time in the melted butter, then in the cinnamon sugar mixture.
8. Serve and enjoy!
-D&E


You must be logged in to post a comment.