Caramelized Onion Sausage Pizza

The one food we have the trouble with in the kitchen is pizza, yes pizza! We can never seem to get the crust crispy enough or the cheese bubbly enough or, you get the drift. Of all the college staples pizza, dear readers, has eluded our mastery.

Until now.

This past weekend we unlocked the secret to making tasty pizza. First we trashed (not literally)all the traditional ingredients found in pizza – marinara sauce? Yeah right, how about some caramelized onions. Pepperoni? Only for babies, why not some sweet apple chicken sausage. Mozzarella cheese? Okay, well that’s alright.

Next we made our own pizza dough instead of using a store bought pre-made dough. Here is a link to the recipe we used which was super easy: http://allrecipes.com/recipe/master-pizza-dough/detail.aspx

Finally, we topped it all off with some fresh arugula for a little extra bite. In the end, we had to force ourselves not to eat this entire pizza in one sitting! We hope you like it too.

Warning: This pizza is highly addicting, proceed with caution!

Caramelized Onion Sausage Pizza

Print this recipe!

You’ll never go back to boring old pizza again.
  • Servings – 8 slices
  • Prep time – 5 minutes (without including time for caramelizing onions or making pizza dough)
  • Cook time – 20 minutes

Ingredients

  • Pizza dough for a 14″ pizza pan
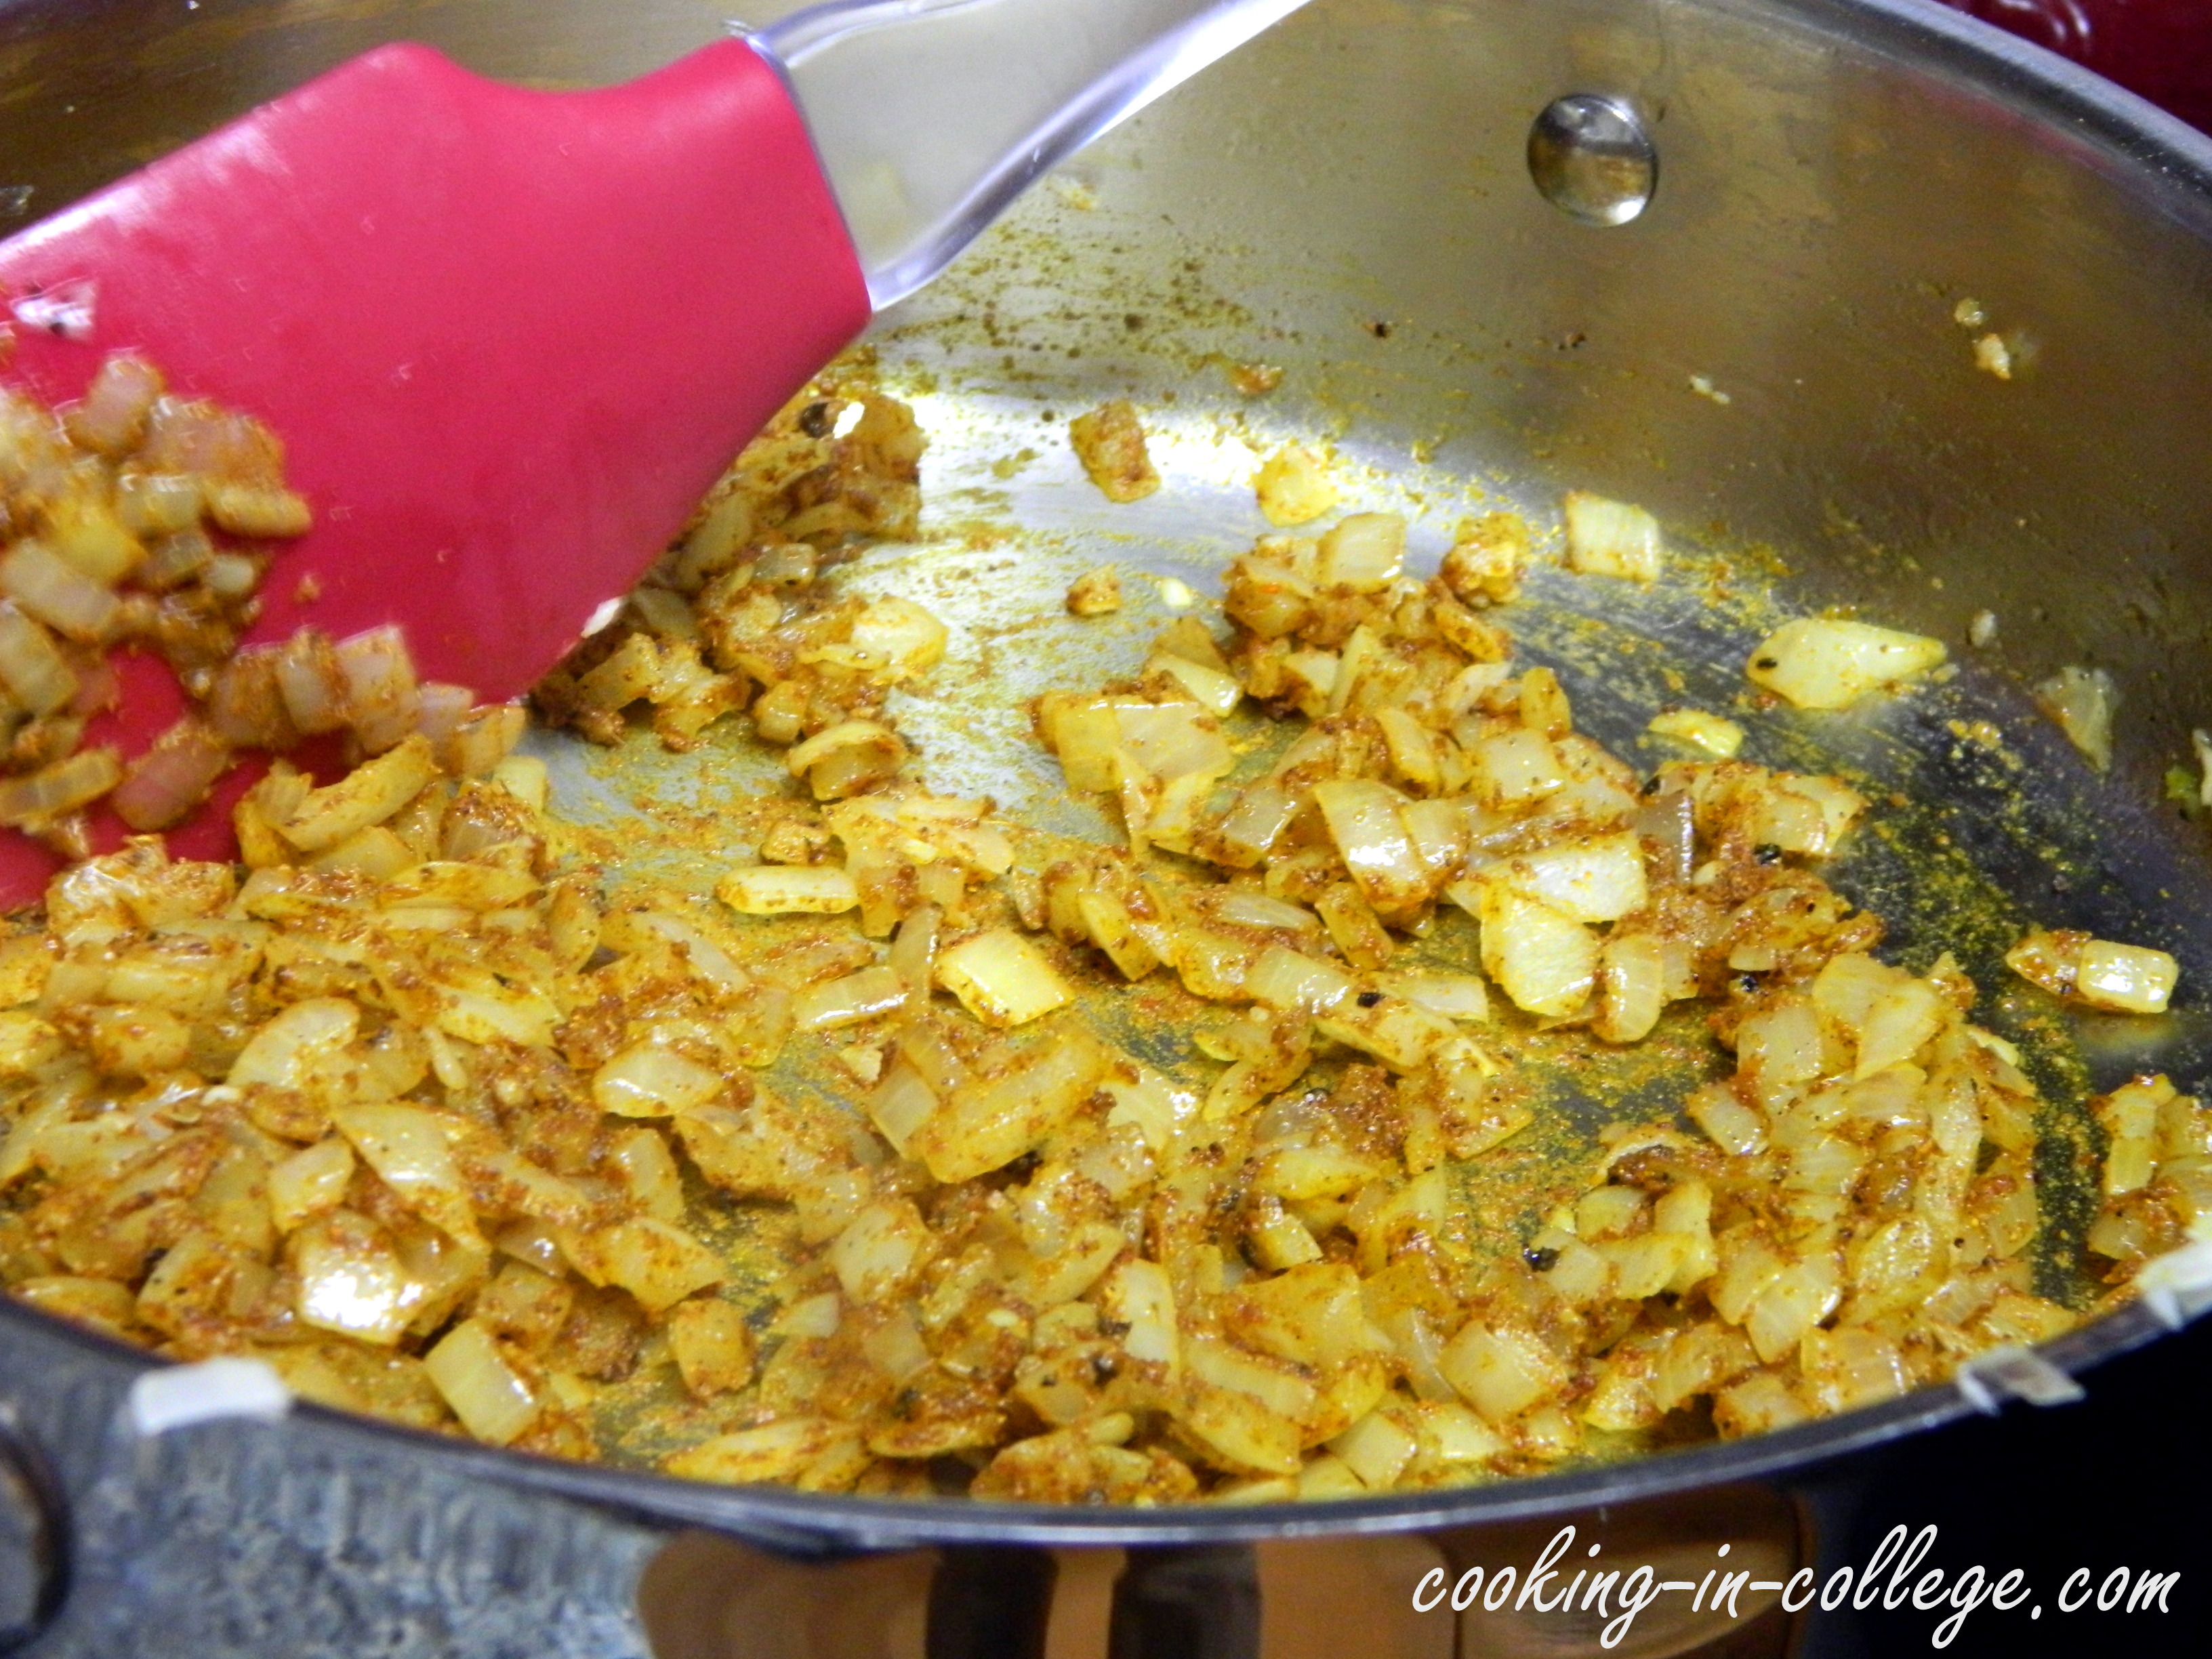
  • 2-3 onions, caramelized (check out the link above on how to make them – you don’t want to skip this step!
  • 1 cup shredded mozzarella cheese
  • 2-3 links of sweet apple chicken sausage, sliced (about 3oz; we got ours at Trader Joe’s)
  • Arugula

Protocol

1. Pre-heat your oven to 400F.

2. Sprinkle a pinch or two of cornmeal over your pizza stone or pan and roll out the pizza dough to cover the surface. Roll in the edges to create a crust (we brushed some olive oil over ours and sprinkled some garlic powder yum!)

3. Bake for 5 minutes to get the dough a bit crispier.

4. Remove from the oven and evenly spread the caramelized onions.

Say goodbye to your old sauce!

5. Sprinkle the cheese and top with the slices of sausage.

Looks like your normal pizza right?

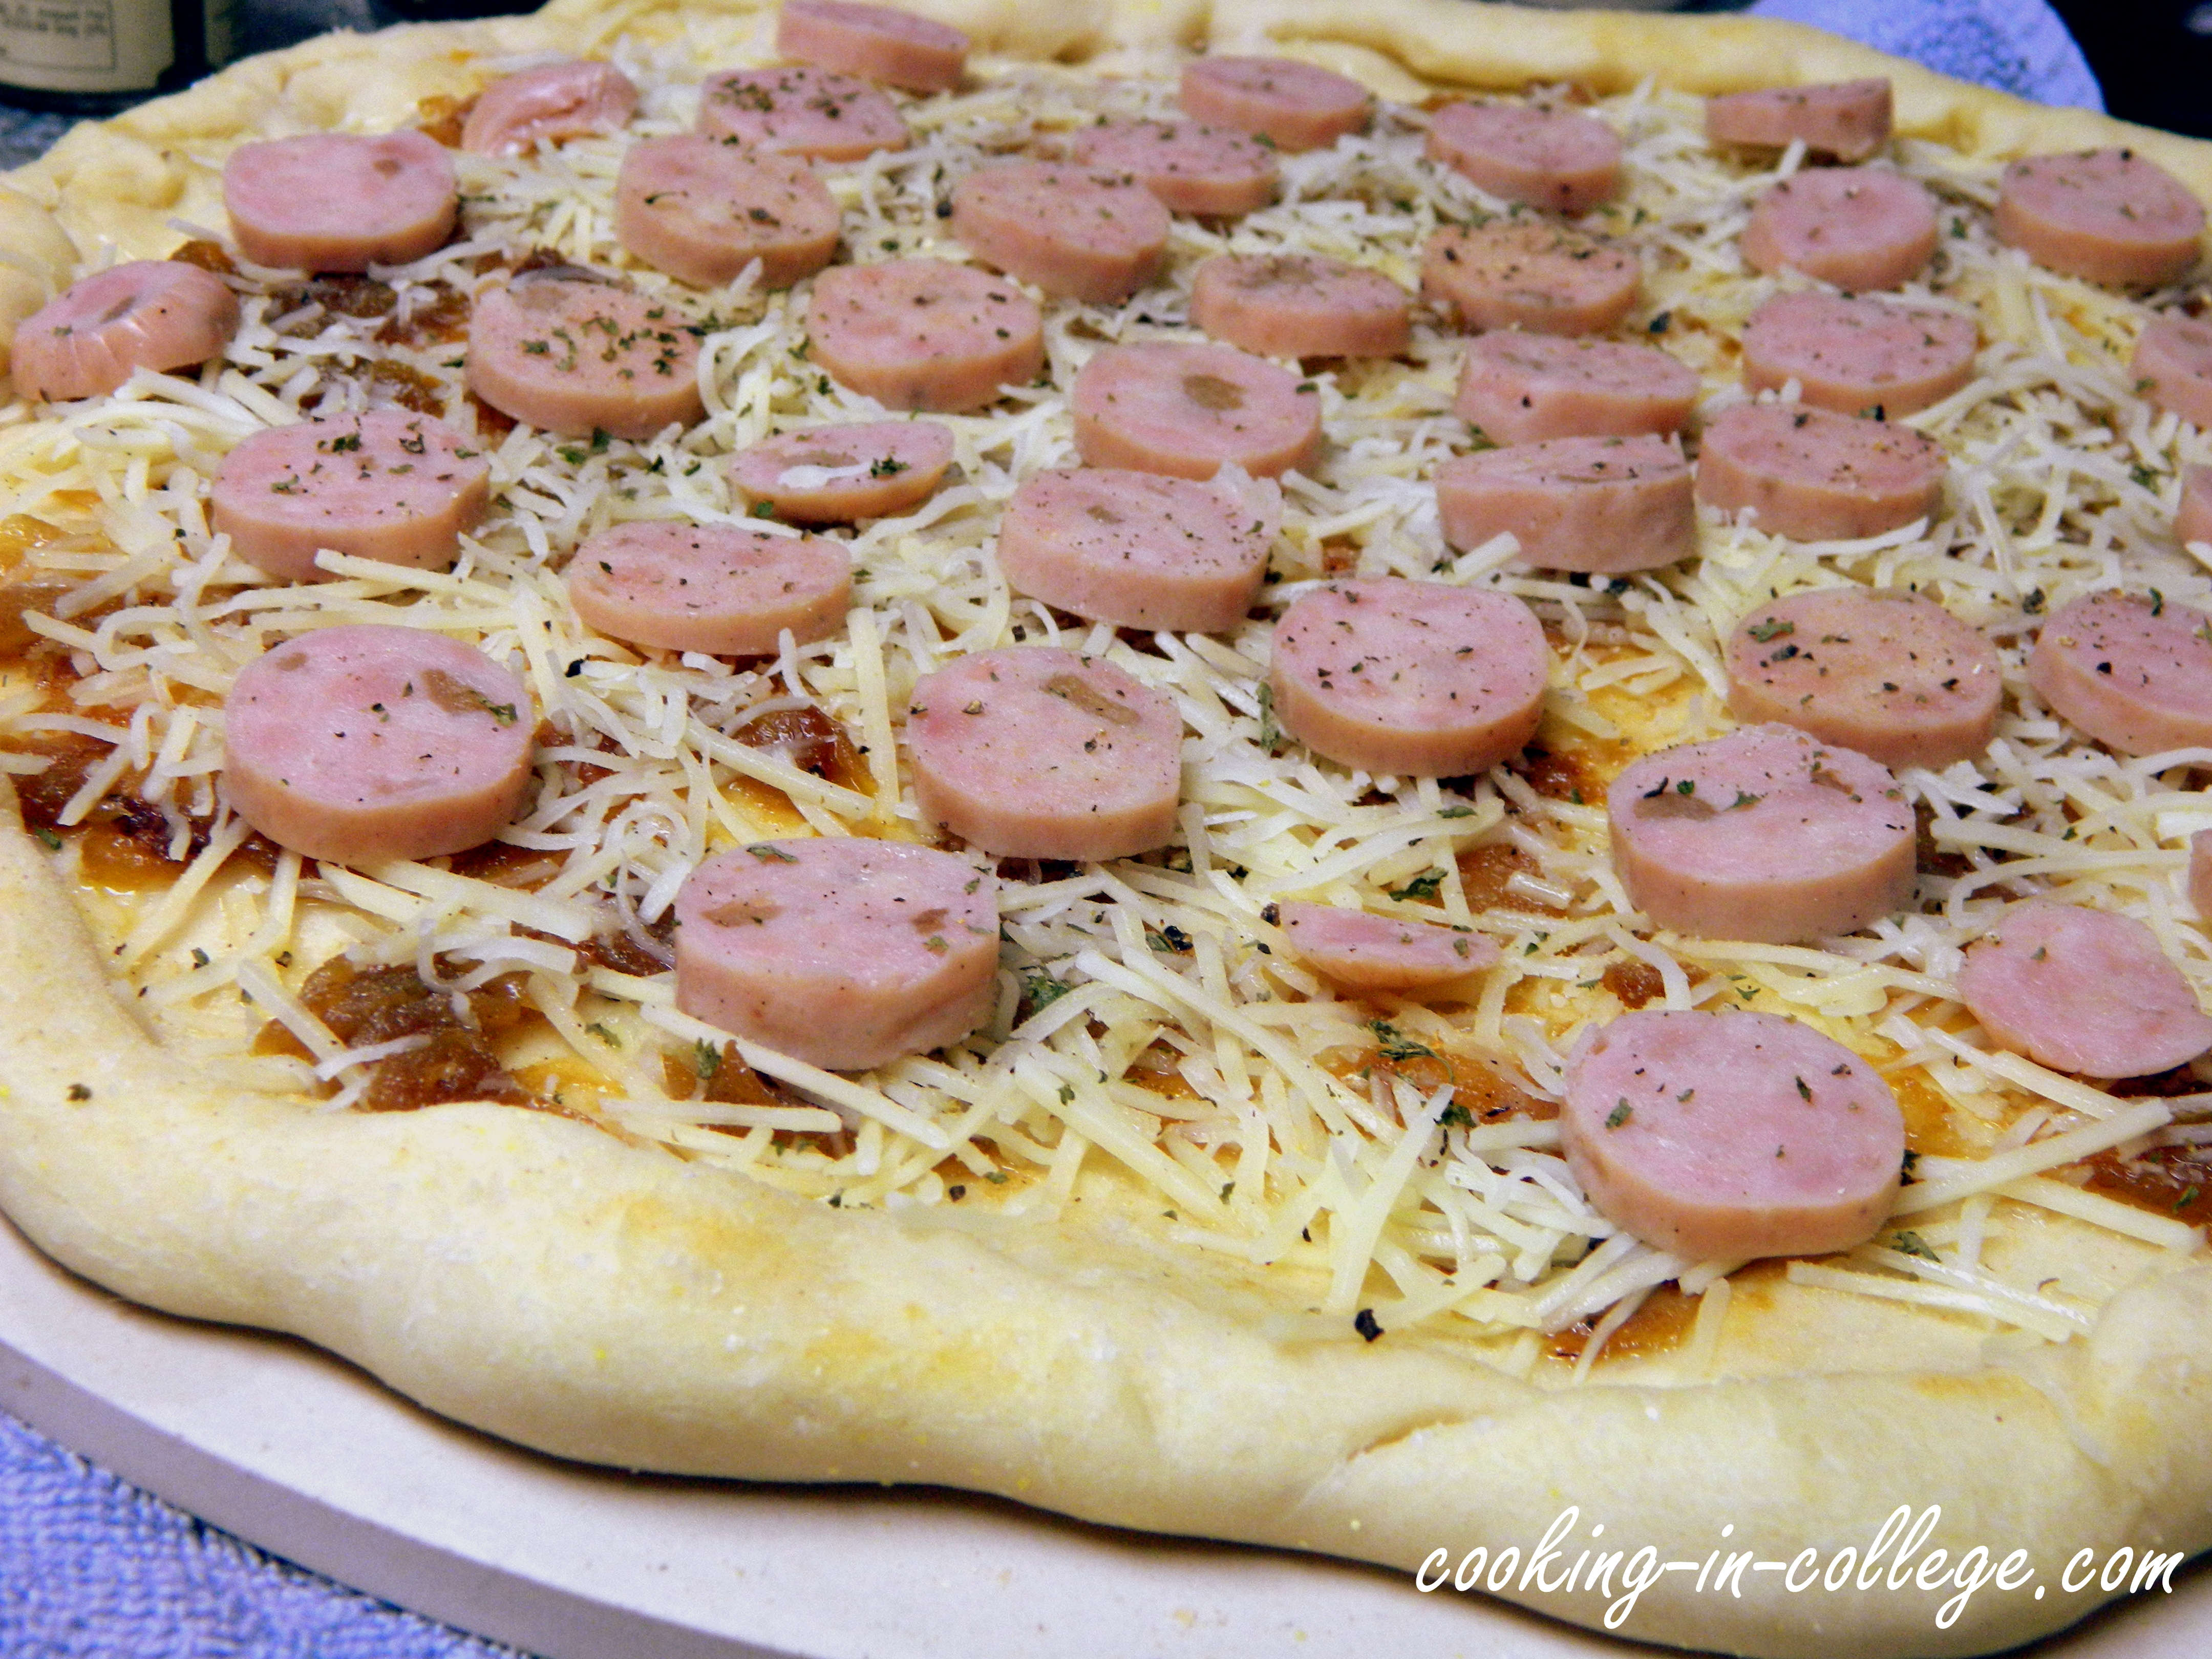
6. Bake for another 15 minutes or until the sausage begins to brown.

Smells so good!

7. Remove from the oven and top with a handful of arugula.

8. Slice, serve and enjoy!

Cooking in College - Caramelized Onion Sausage Pizza

-D&E

Eggs in a Cup

Eggs are so versatile to the average college student. They are quick and easy to make and are very nutritious. We were craving eggs early Saturday morning last weekend and decided to make eggs, but how?

Declan can make a mean scrambled egg but we’ve had that many times before. Over easy eggs are our favorite but we didn’t feel like it at the time. We Googled some other egg recipes and found the easiest one – eggs in a cup.

We forgot that we received ramekins as a wedding gift and thought we could break them out again. The prep work was a cinch and in 20 minutes time we had a delicious brunch! If you don’t have ramekins, try using some oven-safe mugs!

Eggs in a Cup

Print this recipe!

Do you have eggs and cups available? Okay good, you are all set.
  • Servings – 3
  • Prep time – 2 minutes
  • Cook time – 12 to 20 minutes

Ingredients

  • 3 to 6 eggs
  • Favorite filler (cheese, onions, tomatoes, etc.)

Protocol

1. Take out your ramekins or small mugs and grease with olive oil or butter.

2. Lay a clean washcloth or dishtowel on the bottom of an oven safe pan. Place the ramekins in the pan (this will help keep them from sliding around).

Don't worry the cloth won't burn

3. Add to the cup your favorite “filler.” We used diced tomatoes and Parmesan cheese – yum! Feel free to experiment here – other veggies, sausage, anything would be good!.

Mmm tomatoes and cheese

4. Crack 1 or 2 eggs into each cup depending on the size of the cup. We cracked 2 since our ramekins are a bit bigger. Sprinkle with salt and pepper.

So close!

5. Pour boiling water into the pan until half of the cup is submerged in water. This helps to keep the cooking temperature consistent.

6.  Bake your eggs at 375F (in a preheated oven please!) from 12 to 20 minutes until the eggs are white. Cooking time will vary depending on the size of the cup and the number of eggs in it.

7. Remove from the pan carefully with a spatula, serve, and enjoy!

Cooking in College - Eggs in a Cup

-D&E

P.S. – Today is Declan’s sister Caitrin’s birthday! Happy 18th birthday Caitrin! We love you!

French Onion Soup

Happy Valentine’s Day everyone! This is our first as a married couple so we are celebrating by going out to dinner and a ballet this evening (the show was a wedding gift). If you are looking for something low key to do on Valentine’s Day with your special someone we have the recipe for you!

It’s been a “few” days since our last post. We’ve had a couple hit and miss meals since then but we think we found a gem for you today. We were hesitant to post a French onion soup for awhile now, because it does take a long time to make. However, other than caramelizing  onions, the recipe is quite simple.

Since it is hard to explain how to properly caramelize onions, We found this video which you should watch beforehand to learn how to properly caramelize onions:

So what the hey, if you have time one weekend give this a try and let us know how it went!

French Onion Soup

Print this recipe!

[insert something witty about French onion soup here]
  • Servings – 8
  • Prep time – 15 minutes
  • Cook time – 90 minutes

Ingredients

  • 2 tablespoons butter
  • 1 tablespoon olive oil
  • 3 large onions, thinly sliced
  • 3 large cloves garlic, minced
  • 1 teaspoon salt
  • 2 tablespoon flour
  • 6 cups beef stock
  • 2 bay leaves
  • ½ cup red wine
  • 1 teaspoon fresh thyme
  • ½ teaspoon black pepper
  • Croutons
  • Provolone cheese slices

Protocol

1. Heat the butter and oil in a large pot over high heat. Add the onions and garlic and cook for 5 minutes. Add the salt and turn down to low. Allow the onions to cook down until caramelized for about 45 minutes, stir occasionally (see video above).

We cut our slices a bit thick

These really reduce down

2. Add in the flour and cook for one minute. Add in the beef broth, bay leaves, red wine, thyme and pepper and simmer for 20 minutes.

3. Spoon the soup into oven safe bowls and top with the croutons and cheese. Place under the broiler until the cheese becomes melted and golden brown.

We used homemade croutons

Mmm cheese

4. Serve and enjoy!

Cooking in College - French Onion Soup

-D&E

Quick Indian Stew

Like we said in our previous post, we’ve been searching extensively for simple 20 minute meals to make together. Now that Declan get’s home a little later than what we are used to, we try to make easy meals (that are also easy to clean up) so we can spend more time together!

We ventured outside of our comfort zone and tried out an Indian dish (we’ve only posted one Indian dish so far) that looked too easy to make. As it turned out, it was quite good after we made a few adjustments to the original recipe from Martha Stewart. So have at it! Plus, if any of our readers are vegetarian or even vegan, this one’s for you!

Quick Indian Stew

Print this recipe!

We live by a couple Indian restaurants, let’s just say we might be frequenting them less often now that we can make this.
  • Servings – 4
  • Prep time – 10 minutes
  • Cook time – 15 minutes

Ingredients

  • 1 cup rice
  • 1 medium onion, minced
  • 2 garlic cloves, finely chopped
  • 1-2 tablespoon curry powder, depending on your taste preferences
  • 1 teaspoon ground ginger
  • 3 cups tomato sauce (about 1 large can or 1.5ish smaller cans)
  • 2 cans (15 ounces each) chickpeas, rinsed and drained
  • 1/2 cup water
  • 1 teaspoon chili powder
  • 1 tablespoon brown sugar
  • 1 tablespoon fresh lime juice (about half a lime)
  • 1 tablespoon plain low-fat yogurt

Protocol

1. Cook your rice, set aside and cover to keep warm. (Tip to save time: heat up leftover rice or pick up some plain white rice at a Chinese take-out place on your way home! Remember 1 cup uncooked = 2 cups cooked rice)

2. In a large pan over medium heat, heat some olive oil and sauté the onion and garlic until onion becomes tender, about 5 minutes. Add a pinch of salt and pepper.

DSCN5506

3. Stir in the cumin, ginger, and chili powder and cook for about a minute or until fragrant.

DSCN5508

4. Add in the tomato sauce, water, chickpeas, and brown sugar. Bring to a boil and simmer uncovered for 10 minutes or until sauce has slightly thickened.

DSCN5511

5. Serve over rice with a dollop of yogurt and a lime wedge to cool things down, and enjoy!

Quick Indian Stew - Cooking in College

-D&E

Sweet Creamy Gnocchi

We’ve been so busy lately that we have been desperately searching for really quick, 20-minute dinner recipes that you don’t have to do much prep work for. We got lucky and stumbled across a recipe that looked pretty good, so we adjusted it to our likings and what we already had on hand.

…WOW. This turned out amazing and we will be adding it to our regular rotation of meals.  It required no chopping or prep work and was seriously restaurant quality (and even had some veggies for nutritional value, say what?).  If you want to impress some friends but are a little nervous to cook dinner – definitely try this one out. You can even add a nice chicken breast or some shrimp to fancy it up!

But really, go out and buy some gnocchi and make this tonight. You won’t regret it.

Sweet Creamy Gnocchi

Sweet Creamy Gnocchi

Sweet… Creamy… Gnocchi-y… Yummy!
  • Cook time – 15 minutes
  • Servings – 3-4 (but we were really hungry and ate it all in one sitting… oops)

Ingredients

  • 1 pound gnocchi
  • 1 cup frozen sweet corn
  • 1 cup frozen bell pepper mix (you can use fresh if you want!)
  • 3/4 cup half and half
  • 3 oz cream cheese, cut into little squares
  • Salt, pepper, garlic powder, dried herbs (basil, oregano, thyme)
  • 2-3 cups torn baby spinach (no stems!)

Protocol

1. Start the water and cook the gnocchi according to the package. Drain and do not rinse.

2. If you had time beforehand, set out your corn and peppers to thaw. If not (like us), steam or microwave them until warm.

3. For the sauce, combine the half and half, cream cheese, and seasonings in a saucepan. Eyeball the seasonings but don’t go overboard! You can always add more but you can’t take away. Heat over medium-low heat, stirring frequently until slightly thickened (6-7 minutes). Taste and adjust seasonings if necessary.

DSCN5489

4. Add the drained gnocchi back in the big pot and add the warm veggies.  Pour over the sauce and stir to combine.

DSCN5490

5. Stir in the spinach gently to not squish the gnocchi.

DSCN5494

6. Serve with some grated parmesan and enjoy!

Sweet Creamy Gnocchi - Cooking in College

-D&E

Chicken Taquitos

We can’t believe it has taken us this long to write a post for taquitos. What college student hasn’t made frozen taquitos in their dorm room at one point in their college career? Well, we never did… but that’s besides the point.

We searched the interwebs to try and find the easiest recipe (that is still a bit healthy and cheap). We combined a couple recipes and came up with our own, and yes it does contain veggies! The best part about taquitos is that they are very customizable to your liking. You can add more meat and less veggies, more veggies and less meat, or add something completely different. Let us know what your favorite taquito is!

Chicken Taquitos

Print this recipe!

A healthy alternative to the frozen taquito counterpart.
  • Servings – 9 to 10 taquitos
  • Prep time – 10 minutes
  • Cook time – 15 minutes

Ingredients

  • 1 1/2 cups shredded cooked chicken (try cooking up an extra breast or so with dinner the night before!)
  • 6 ounces of shredded cheddar cheese
  • 1 1/2 cup chopped baby leaf spinach (with stems removed)
  • 1 small bell pepper, any color, chopped
  • 6 ounces (or 3/4 cup) of softened cream cheese, or plain Greek yogurt, or combination
  • 2 tablespoons of fajita or taco seasoning
  • 9 to 10 six inch flour tortillas (we used whole wheat tortillas)

Protocol

1. Saute the bell pepper over medium heat until slightly tender, about 3 to 4 minutes.

Sauteing up some peppers

2. In a large mixing bowl combine the green peppers and all of the above ingredients (sans the tortillas) and mix until evenly combined.

3. Spoon about 2 tablespoons of the mixture into a tortilla and spread it out into a “log.” Roll the tortilla tightly and set aside. Repeat for the remaining tortillas.

How to properly stuff a taquito

4. In a medium sized pan, pour in enough vegetable oil to liberally coat the bottom. Heat this oil over medium heat until hot.

5. Place about 3 or 4 taquitos into the pan (seam side down!) and fry each side for about 1 to 2 minutes or until golden brown. Place on a paper towel-lined plate. Repeat for all of the taquitos.

Golden brown!

6. Serve with salsa, sour cream, or guacamole and enjoy!

Cooking in College - Chicken Taquitos

-D&E

Hot Whiskey

When we were in Ireland, Erica came down with a cold and wasn’t feeling too great. One night, we were staying at Declan’s great aunt and uncle’s house and they made Erica a delicious drink that was supposed to help clear her cough and make her sleep through the night. Well… it worked! Erica slept like a baby.

Since being back in the States, we’ve made this drink a few times and it’s a great night cap on a cold night! So what is this magical concoction you ask???

Hot Whiskey

Print this recipe!

Just in time for flu season!
  • Servings – 1 drink
  • Cook/Prep time – 5 minutes

Ingredients

  • 1 cup hot water (preferably heated in a tea kettle, but a microwave works too!)
  • 1 shot (1.5 oz) whiskey (preferably Irish whiskey, like Jameson or Bushmills)
  • 2 teaspoons sugar (Note: Erica’s sister often uses honey instead when her throat is sore!)
  • 2-3 lemon slices
  • About 8 whole cloves (number is up to you!)

Protocol

1. Add your shot to a nice mug and fill up the rest with the hot water. Stir in the other ingredients.

2. Snuggle up and enjoy!

Hot Whiskey - Cooking in College

-D&E